All Channov production facilities are certified according the required market standards, such as ISO 9001, ISO TS 16949 and ISO 14001.
In addition to the certifications, Channov works under a Total Quality System based on the inhouse document “Ten Commandments of Total Quality”, which guides the actions of all the company’s employees to achieve the ultimate goal: Zero Defects and Zero Problems.
At Channov we understand Total Quality as an attitude that pursues continuous improvement in all activities: in processes, products and service, and in the relationship between all people inside and outside the company.
Total Quality aims to achieve the following objectives:
- Maximum Customer Satisfaction.
- Satisfaction of the people of Channov from a job well done.
- Professional and personal fulfilment of the Channov workers.
- Strength, Profitability and Continuity of the company, and therefore its survival.
The Total Quality System is based on three main pillars: Training, Communication and Participation. Training enables people to do their job, to make improvements, and to make decisions. Communication conveys the company’s objectives and policies, and makes people identify with it. Participation incorporates all the contributions by people in the company.
We know that our customers count on us to provide dock-to-dock reliability and superior C-part delivery for component needs. If we don’t make it easier for you, there’s no point in you partnering with us. We take this mandate very seriously and offer a variety of types of quality assurance.
Our Quality Inspection Capabilities
|
|
|
|
|
|
|
|
|
|
|
|
|
1. Overview of Optical Image Screening Machine
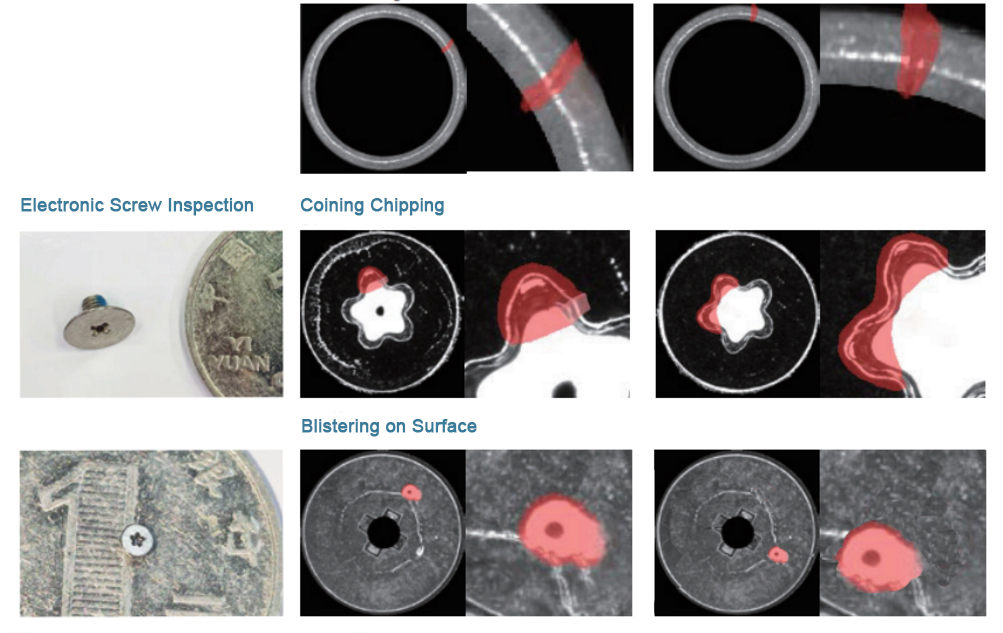
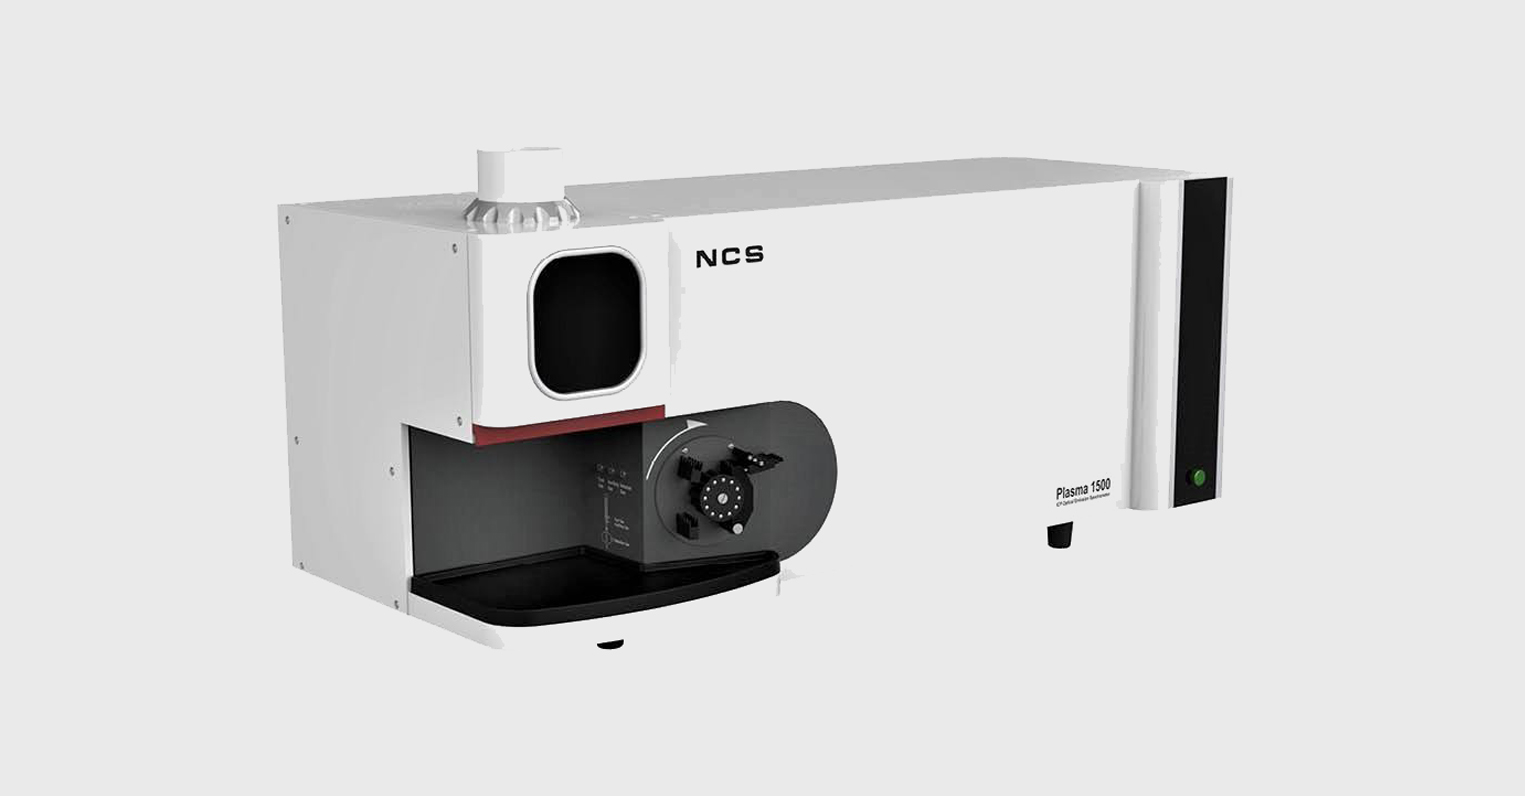
Optical image screening machine, namely machine vision inspection machine. Optical image screening machine is a new type of automatic screw and nut inspection and screening equipment. It is mainly used to replace manual size inspection, appearance inspection and defect inspection of various types of fasteners. It can automatically complete feeding, inspection, quality discrimination and screening. It greatly improves the detection accuracy and detection speed of the appearance and size of fasteners, and greatly reduces the cost of manual detection.
2. The working principle of optical image screening machine
The CCD image control system is used as the main control unit, using displacement and visual sensing technology, according to the screw and nut parameters, to automatically complete the feeding, detection, and discrimination, and finally automatically screen out the good and bad products.
With the development and upgrading of the domestic industry, all kinds of precision parts (such as automotive screws, electronic screws) need to be fully inspected for appearance and dimensional quality. Manual visual inspection for a long time makes the eyes easy to fatigue, resulting in low product inspection efficiency and low accuracy. Replacing artificial vision with machine vision can greatly improve production efficiency and inspection accuracy, reduce customer complaints, and reduce labor costs.
3. Technical characteristics of optical image screening machine
- Automatic CCD visual inspection to reduce the cost of manual inspection;
- High detection accuracy, the highest detection accuracy is ±0.005mm;
- There are many testing items and a wide testing range;
- Fast detection speed, the fastest detection speed is 1200 pieces/min;
4. Screenable objects of optical image screening machine
Screws, nuts, hardware accessories, mobile phone accessories, auto parts, small screws, precision screws, gaskets, special-shaped parts, stamping parts, injection parts, galvanized screws, precision hardware, etc. It can also be reasonably customized according to the shape and size of the object.
5. Testing items of screw optical image screening machine
Cracks, burrs, head text/shape, length, diameter, whether there is a cut tail, pinhole concentricity/roundness, whether the screw and nut have teeth, the inner and outer diameter of the screw, the pitch of the screw, the angle of the screw, and the poor grinding , bottom shape, tailing, bending, tail cutting groove, multi-section height/width/thickness, chamfer/angle, number of teeth, surface contamination, surface defect, imprint, surface defect, etc.


